

How To Create New Website In Visual Studio 2017
This browser is no longer supported.
Upgrade to Microsoft Edge to take advantage of the latest features, security updates, and technical support.
- Feedback
- Edit
Quickstart: Use Visual Studio to create your first ASP.NET Core web app
- Article
- 7 minutes to read
Thank you.
In this 5-10 minute introduction to how to use Visual Studio, you'll create a simple "Hello World" web app by using an ASP.NET project template and the C# programming language.
Before you begin
Install Visual Studio
Create a project
To start, you'll create an ASP.NET Core web application project. The project type comes with all template files to create a web app, before you've even added anything!
-
Open Visual Studio 2017.
-
From the top menu bar, choose File > New > Project.
- In the left pane of the New Project dialog box, expand Visual C#, and then choose .NET Core. In the middle pane, choose ASP.NET Core Web Application.
Then, name your file
HelloWorldand choose OK.
Note
If you don't see the .NET Core project template category, choose the Open Visual Studio Installer link in the left pane. (Depending on your display settings, you might have to scroll to see it.)

The Visual Studio Installer launches. Choose the ASP.NET and web development workload, and then choose Modify.

(You might have to close Visual Studio before you can continue installing the new workload.)
-
In the New ASP.NET Core Web Application dialog box, select ASP.NET Core 2.1 from the top drop-down menu. Next, choose Web Application, and then choose OK.

Soon after, Visual Studio opens your project file.
-
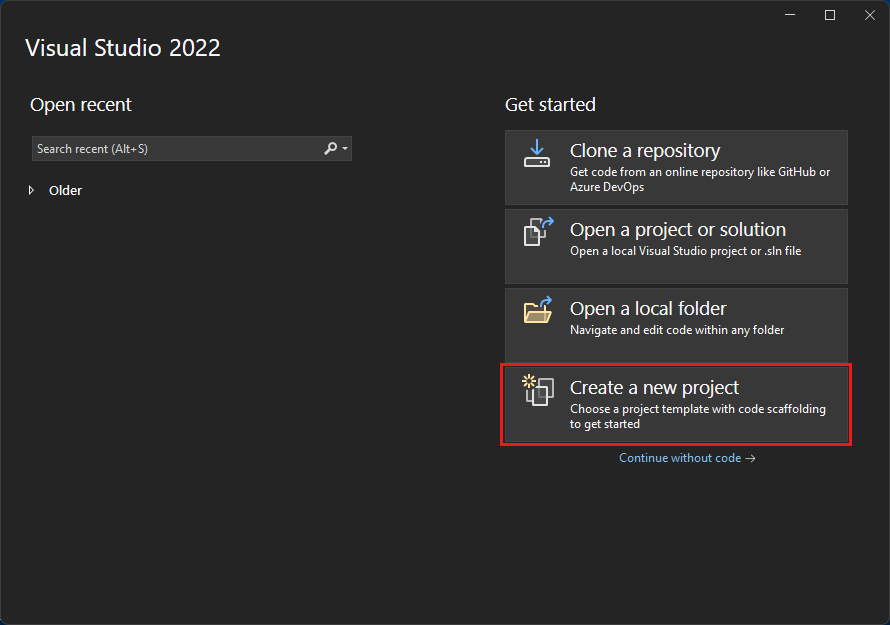
In the start window, choose Create a new project.

-
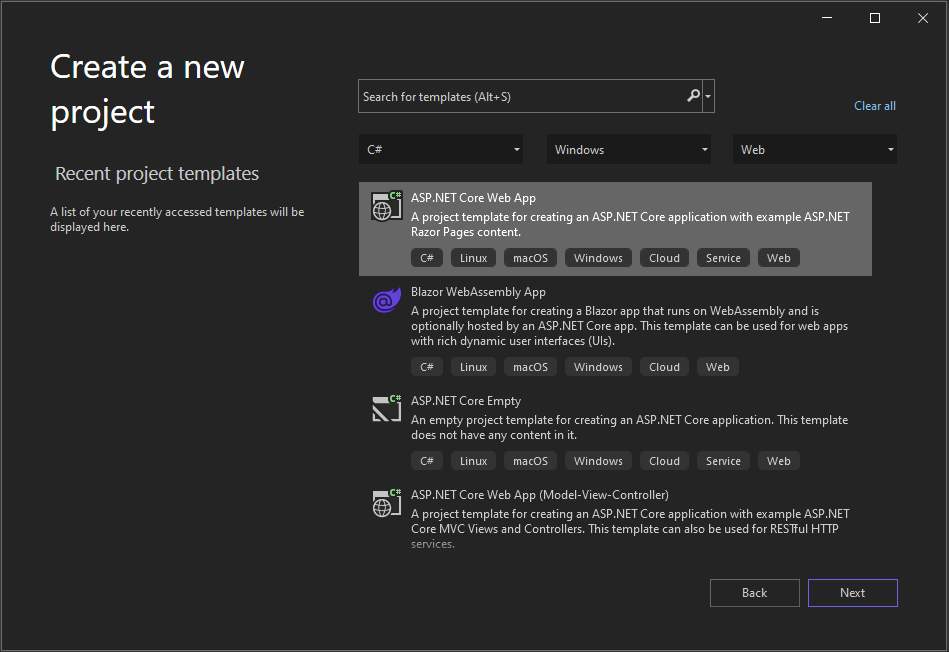
In the Create a new project window, choose C# from the Language list. Next, choose Windows from the Platform list, and Web from the project types list.
After you apply the language, platform, and project type filters, choose the ASP.NET Core Web App template, and then choose Next.

Note
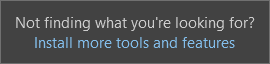
If you don't see the ASP.NET Core Web App template, you can install it from the Create a new project window. In the Not finding what you're looking for? message, choose the Install more tools and features link.

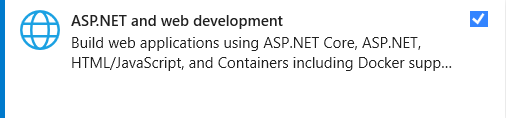
Then, in the Visual Studio Installer, choose the ASP.NET and web development workload.

After that, choose the Modify button in the Visual Studio Installer. If you're prompted to save your work, do so. Next, choose Continue to install the workload. Then, return to step 2 in this "Create a project" procedure.
-
In the Configure your new project window, type or enter HelloWorld in the Project name box. Then, choose Next.

-
In the Additional information window, verify that .NET Core 3.1 appears in the top drop-down menu. Note that you can choose to enable Docker support by checking the box. You can also add authentication support by clicking the change Authentication button. From there you can choose from:
- None: no authentication.
- Individual accounts: these are stored in a local or Azure-based database.
- Microsoft identity platform: this option uses Active Directory, Azure AD, or Microsoft 365 for authentication.
- Windows: suitable for intranet applications.
Leave the Enable Docker box unchecked, and select None for Authentication Type. Then, select Create.

Visual Studio will open up your new project.
-
In the start window, choose Create a new project.
-
In the Create a new project window, choose C# from the Language list. Next, choose Windows from the Platform list, and Web from the project types list.
After you apply the language, platform, and project type filters, choose the ASP.NET Core Web App template, and then choose Next.
Note
If you don't see the ASP.NET Core Web App template, you can install it from the Create a new project window. In the Not finding what you're looking for? message, choose the Install more tools and features link.
Then, in the Visual Studio Installer, choose the ASP.NET and web development workload.
After that, choose the Modify button in the Visual Studio Installer. If you're prompted to save your work, do so. Next, choose Continue to install the workload. Then, return to step 2 in this "Create a project" procedure.
-
In the Configure your new project window, type or enter HelloWorld in the Project name box. Then, choose Next.

-
In the Additional information window, verify that .NET 6.0 appears in the Framework field. Note that you can choose to enable Docker support by checking the box. You can also add authentication support by selecting a value from the Authentication type drop-down list. From there you can choose from:
- None: no authentication.
- Individual accounts: these authentications are stored in a local or Azure-based database.
- Microsoft identity platform: this option uses Active Directory, Azure AD, or Microsoft 365 for authentication.
- Windows: suitable for intranet applications.
Leave the Enable Docker box unchecked, and select None for Authentication type. Then, select Create.

Visual Studio will open up your new project.
Create and run the app
-
In the Solution Explorer, expand the Pages folder, and then choose About.cshtml.

This file corresponds to a page that's named About in the web app, which runs in a web browser.

In the editor, you'll see HTML code for the "additional information" area of the About page.

-
Change the "additional information" text to read "Hello World!".

-
In the Solution Explorer, expand About.cshtml, and then choose About.cshtml.cs. (This file also corresponds with the About page in a web browser.)

In the editor, you'll see C# code that includes text for the "application description" area of the About page.

-
Change the "application description" message text to read "What's my message?".

-
Choose IIS Express or press Ctrl+F5 to run the app and open it in a web browser.

Note
If you get an error message that says, Unable to connect to web server 'IIS Express', or an error message that mentions an SSL certificate, close Visual Studio. Next, open Visual Studio by using the Run as administrator option from the right-click context menu. Then, run the application again.
-
In the web browser, verify that the About page includes your updated text.

-
Close the web browser.
Review your work
View the following animation to check the work that you completed in the previous section.

Congratulations on completing this Quickstart! We hope you learned slightly about C#, ASP.NET Core, and the Visual Studio IDE (integrated development environment).
-
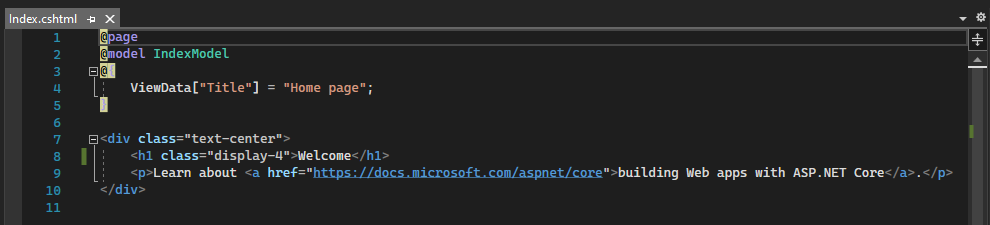
In the Solution Explorer, expand the Pages folder, and then choose Index.cshtml.
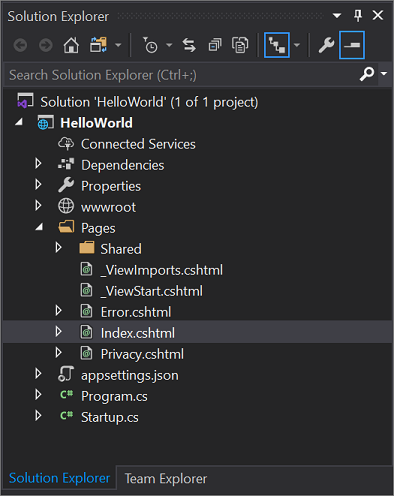
This file corresponds to a page that's named Home in the web app, which runs in a web browser.
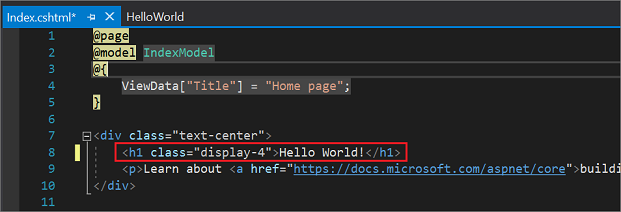
In the editor, you'll see HTML code for the text that appears on the Home page.

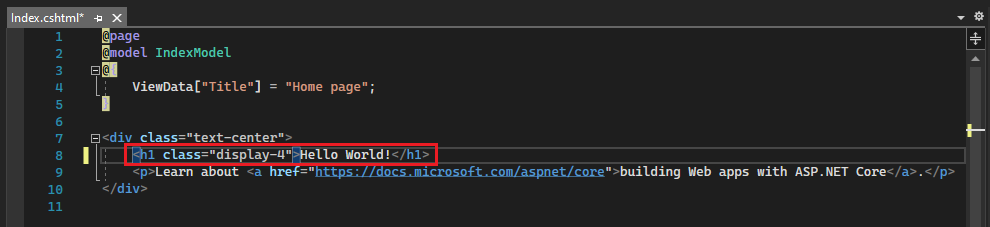
-
Change the "Welcome" text to read "Hello World!".
-
Choose IIS Express or press Ctrl+F5 to run the app and open it in a web browser.

Note
If you get an error message that says, Unable to connect to web server 'IIS Express', or an error message that mentions an SSL certificate, close Visual Studio. Next, open Visual Studio by using the Run as administrator option from the right-click context menu. Then, run the application again.
-
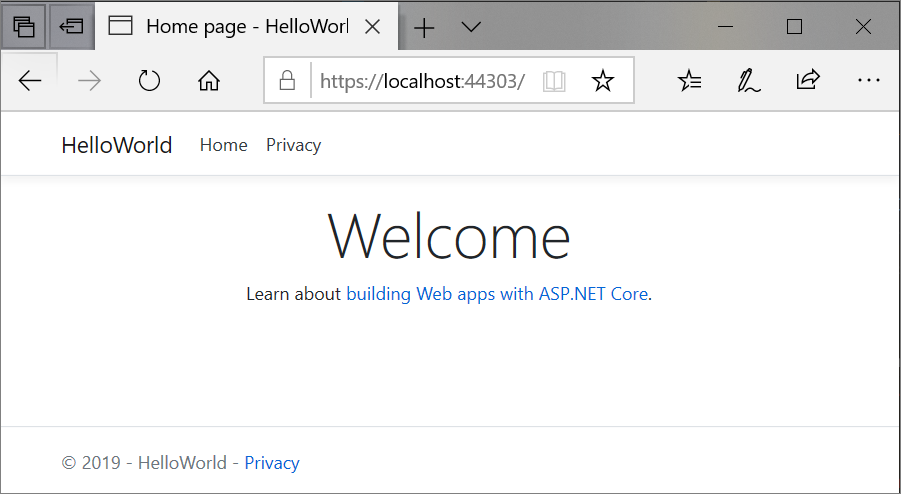
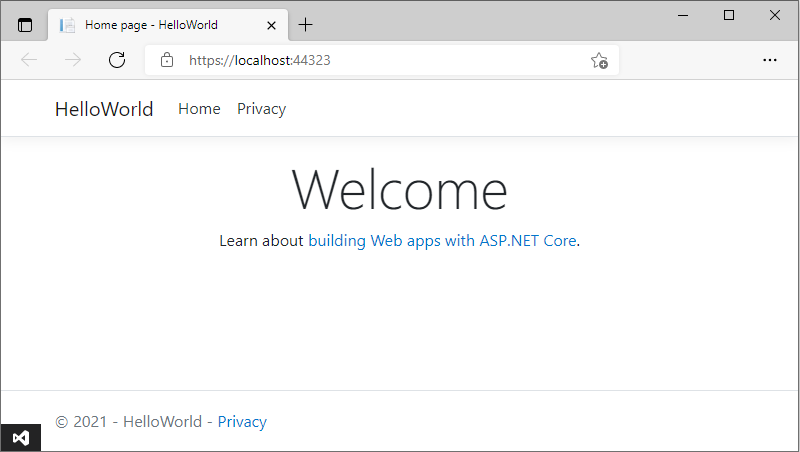
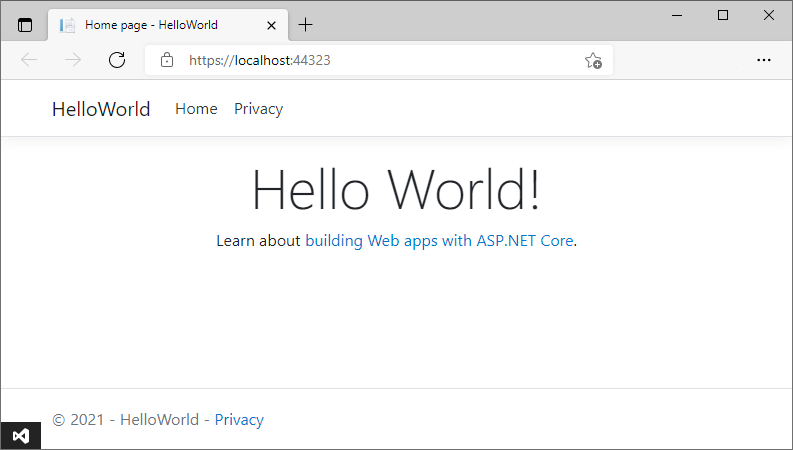
In the web browser, verify that the Home page includes your updated text.

-
Close the web browser.
-
In the Solution Explorer, expand the Pages folder, and then choose Index.cshtml.

This file corresponds to a page that's named Home in the web app, which runs in a web browser.
In the editor, you'll see HTML code for the text that appears on the Home page.
-
Change the "Welcome" text to read "Hello World!".
-
Select IIS Express or press Ctrl+F5 to run the app and open it in a web browser.

Note
If you get an error message that says, Unable to connect to web server 'IIS Express', or an error message that mentions an SSL certificate, close Visual Studio. Next, open Visual Studio by using the Run as administrator option from the right-click context menu. Then, run the application again.
-
In the web browser, verify that the Home page includes your updated text.
-
Close the web browser.
Next steps
To learn more about creating ASP.NET web apps, continue with the following tutorial:
Or, learn how to containerize your web app with Docker:
See also
Publish your web app to Azure App Service by using Visual Studio
Feedback
How To Create New Website In Visual Studio 2017
Source: https://docs.microsoft.com/en-us/visualstudio/ide/quickstart-aspnet-core
Posted by: weidmanatudeas.blogspot.com
0 Response to "How To Create New Website In Visual Studio 2017"
Post a Comment